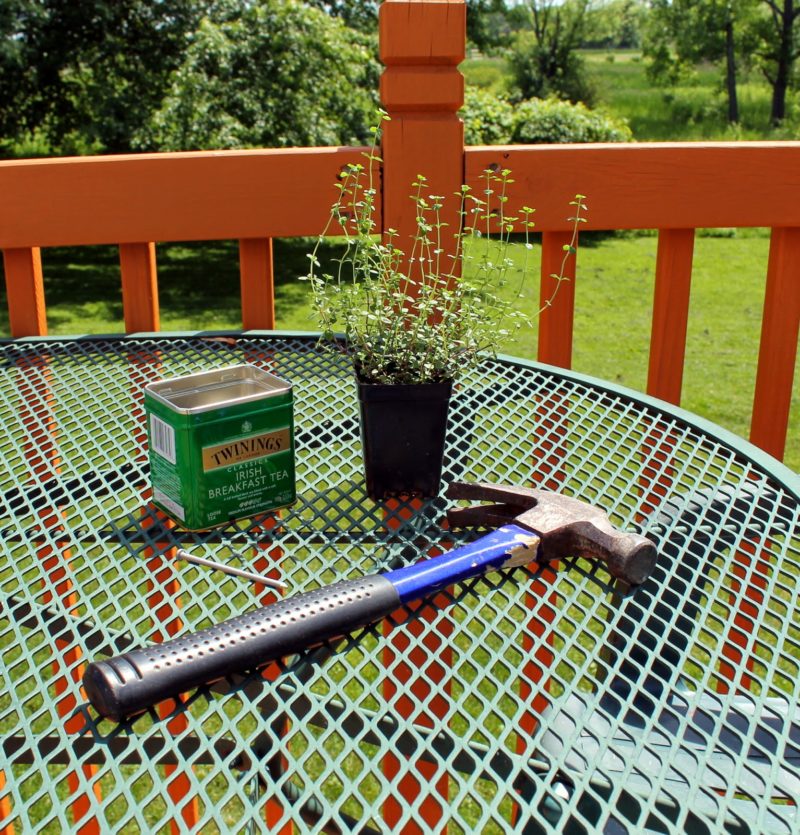
Big news over here kids! I finally took pictures of a craft I did, while I did it; like step by step pictures. I know its pretty earth shattering. Are you ready for a tutorial? I’ve had this project in my head for like ever and it feels good to finally get it out there for you guys. It’s super easy and can be done in less than 20 minutes if you have everything together. Perfect craft right?
It starts out with a need for a use for the million and one leftover tea tins that I have. I know I can just recycle them, but some of them are just so need looking that I want to keep them. For this project I started off with a basic tin, just in case I screwed it up. Luckily I didn’t, so I will get to work on my other tins soon enough.
Step 1: Gather supplies. Shouldn’t this always be step one? I usually skip it, get half way through a project and realize I need to go to the store. Then the project sits there for a few weeks until I get ambitious enough to get to the store and finish it. Just me? Oh well.
Step 2: Use the hammer and nail to poke a few holes into the bottom of the tin. Or call to your honey to do it for you while you make a cocktail.
Step 4: Add your plant and fill in the edges with dirt.
Step 5: Water your plant, and add dirt where it has settled, if necessary.
Don’t forget to have a few sips of said cocktail while you work, it’s important to stay hydrated, or hammered depending on your outlook.
What do you guys think? Do you want to see more things like this? Feel free to tell me that I’m an idiot and should just stick with food. I can take it, though I may not listen. I will be a Modern Age Martha if I want to.

